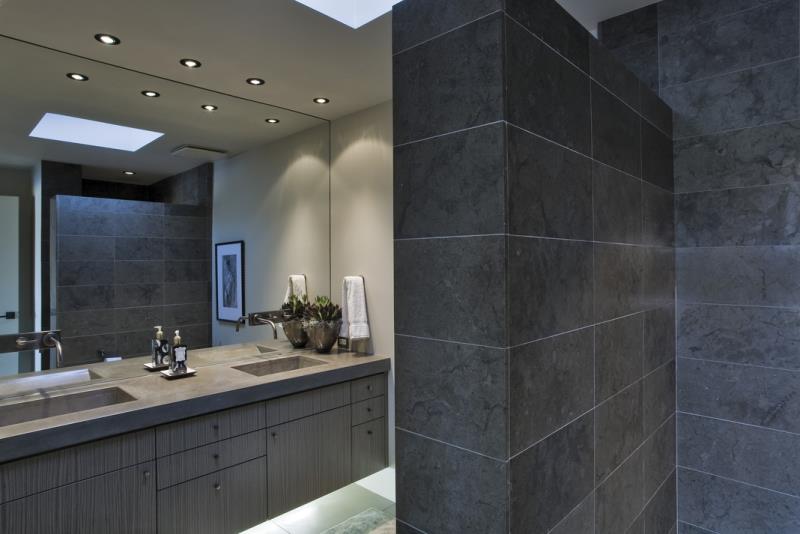
Cabinets in the bathroom have to withstand a lot over the course of an average day. Not only will they hold a myriad of products, but they will be continually opened and closed, and likely subjected to splashes of water. Over time, the surface of even the best crafted bathroom cabinets will start to fade, and that’s when it could use a refresh. Refinishing bathroom cabinets is a great way to provide that refresh without having to undertake the more costly endeavour of partially or completely replacing the cabinets.
However, refinishing bathroom cabinets isn’t as straightforward as simply brushing on a new layer of paint. It’s a process that will require both painting and carpentry skills. Refinishing bathroom cabinets involves taking your existing doors and/or cabinets, stripping them, repainting them to a color of your liking, and installing them back in your bathroom.
Before you start pondering just how you’re going to refinish your bathroom cabinets, you’ll first need to determine whether it’s even a candidate for refinishing. Remove one of the bathroom cabinet doors and sand off a small spot of the finish on the back. If you find laminate, you won’t be able to go through the refinishing process. If the doors/cabinets are made of real wood, you can proceed with the next steps.
Sand, strip, and seal
Remove all the doors and drawer fronts you want refinished, and take all the hardware (hinges, handles) off each piece. You’ll need to use a paint stripper to remove the existing finish. When using a paint stripper, be sure you’re in a well-ventilated room, or better yet, outdoors. Removing paint from wood cabinets requires patience, because not all of the paint will lift off after the first application of remover. Perhaps not even after the second or third applications.
When the paint finally has been stripped, sand the doors and drawer fronts down to the bare wood. It’s important to sand with the grain and use appropriate grit sandpapers to get a clean surface. After the sanding is complete, apply a sealer which will cover the wood’s surface with a light coating that will help stain go on evenly. When the sealer dries, use a cloth to wipe the surface clean.
Before slathering on a layer of stain, try out a sample of it on a small area of wood. If you apply the stain everywhere and aren’t happy with the results, you’ll have to go through the sanding process all over again.
When you’re satisfied with the stain, apply it on a larger area using a soft cotton rag, a brush, or both. If you find the stain is going on too dark, rub some off. If it’s too light, you can always add another coat after the first one dries. When all the pieces are dry, it’s time to add a protective coating either by spraying or brushing it on. Applying at least two coats of the protective layer will product the best results.
Once the coating has dried, you can either reinstall the handles and hinges you had used in the past, or install new ones to further update the look of the cabinets.
If your bathroom cabinets are in need of a refresh, or if you’re just looking to create a new look for your cabinets without having to replace them all, contact us to learn more about the refinishing work we can do for you.
*Oakville / Burlington Ontario

